A beginner support needs a job more concrete than “help the carry.” Start with the next wave: make it possible for your partner to collect it, then decide whether you can do something elsewhere without leaving them in trouble. This lesson turns that job into a repeatable lane-and-return routine. Read the first-lane lesson beforehand if last hits, aggro and wave control are new terms.
Understand what your presence changes
A core is a hero with higher farm priority; a support usually spends less time taking contested farm and more time enabling teammates. Position five commonly starts with the carry, while position four commonly starts with the offlaner. These are starting responsibilities, not a rule that five must stand behind one hero for the entire match.
Your presence can stop an enemy from approaching, provide damage for a kill or protect a low-health partner. If you stand too far back to attack or cast, you may share experience without providing those benefits. Move to a position where an enemy must consider both of you. Keep a route back; standing forward is not the same as walking between two opponents.
Look at your partner's resources before proposing a fight. A ready stun cannot produce a reliable kill if your partner has no mana for damage or is too far away to follow. Say what you intend to do: “I can stun after this creep,” or “I need to recover; play back for a moment.”
Your lane jobs, in order of the immediate problem
Protect access to the wave. If the enemy support is keeping your partner away, contest that support from an angle where your core can help. If a large enemy wave is the problem, help thin it while leaving secure last hits for the core. Trading into all those creeps may make the problem worse.
Maintain resources. Bring enough regeneration to keep participating, and arrange more before you run dry. Share when it solves an immediate problem, but do not base the entire lane on your partner noticing what you lack. Tell them when you cannot protect an aggressive position.
Create a chance to act. A useful spell might force the enemy away from a creep, protect a retreat or prepare a kill. You do not need to chase after every successful hit. If the opponent withdraws and your core farms freely, the spell has already done work.
Change the wave when needed. This is where pulling can help. It is one tool, not a task to perform whenever the clock reaches a familiar number.
What a pull does—and when to skip it
A pull makes neutral creeps meet your lane wave so some or all of your allied creeps fight away from the lane. That can change the next meeting point and deny the enemy access to those creeps. The outcome depends on the camp, the wave and whether someone contests it.
Before leaving to pull, check whether your core can handle the enemy wave and heroes without you. If a large wave is already approaching your tower, leaving may give the opponents a chance to dive. Stay close enough to help until that pressure is dealt with. If your wave is far forward and the core can wait safely, a pull may solve a real problem.
To learn execution, use a lobby. Display camp spawn boxes, find the camp nearest your lane and practise making its creeps intercept your wave. Watch the actual meeting rather than memorising one universal second: paths and camp layouts matter. A stack is different—it moves existing neutral creeps out of their spawn area so another group can spawn. A stack is useful when someone can collect it; it is not automatically worth missing a more urgent lane job.
Decide whether you have a rotation window
A rotation is leaving your current lane to influence another area. Check four conditions before you move.
The wave you leave: where will it meet next, and can your core collect it without stepping into danger?
The threat you leave: do the opponents have a disable or damage spike that makes a solo core vulnerable? A tower helps but does not cancel a dive.
The action you join: is there an ally in position and a specific target, rune or defence you can affect?
The return: after that action, how will you reconnect, and what will your original lane look like?
If you cannot name the destination and the return, start with a smaller action nearby: adjust your position, secure a useful ward or prepare the next wave. Wandering between lanes can lose both opportunities.
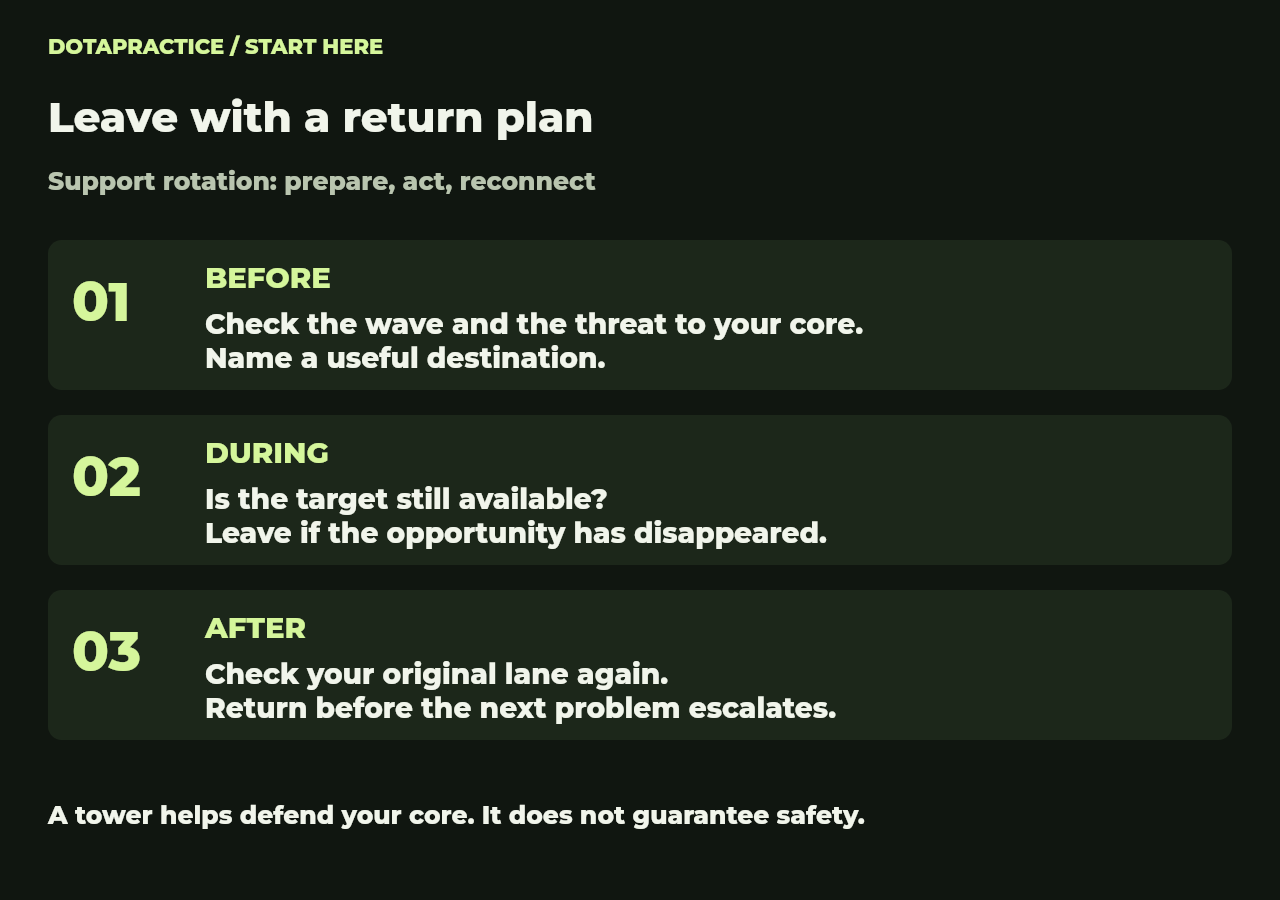
A rotation includes preparation and a return. If the opportunity disappears, end the attempt and reassess the lane you left.
DotaPractice · Higgsfield / HiggseditCompare two situations
A reasonable window: your healthy core is collecting a manageable wave close to your tower; the enemies are visible; your mid ally can follow your disable against an exposed opponent. Tell the core you are moving, take the short route and reassess if the target retreats. After the attempt, check your original lane before choosing another job. A failed kill attempt does not justify waiting unseen for another minute.
A poor window: your core is low, a large enemy wave is coming and the opposing support is moving forward with their core. You spot a possible mid kill, but your departure removes the only immediate defence. Help stabilise the wave first. If the lane is already impossible to defend, explain that and help the core find an exit rather than promising safety by staying nearby.
These examples are teaching scenarios, not claims that a particular hero can never die under a tower. Judge the spells and resources in the actual match.
Ward for the action, not for the habit
An Observer Ward provides vision; a Sentry Ward provides detection of invisible units and wards within its coverage when you also have vision of the area. They do different jobs. Read their current tooltips before buying or placing them.
Ask what your team needs to see: an approach to the lane, a route toward an objective or the enemy's response to pressure. A familiar cliff may cover a large area and still miss the route you need. Do not walk alone into an area you already believe the enemy controls just to place the “ideal” ward. Go with a teammate, use a safer position or wait for information.
Review the departure and the return
For your first three rotations, pause the replay just before you leave. Record the wave position, your core's resources, your destination and how you plan to return. Then check what actually happened. Review successful rotations too: getting a kill elsewhere can hide an unnecessary loss at home. Your aim is to make each departure explainable and to reconnect before the next problem becomes a death.
Your next step
Next, learn how to choose actions after the lane, then apply setup and follow-up on Mirana. If judging the wave is difficult, return to the first-lane lesson.
Source and patch context
Further viewing: Support Heaven's video, published September 2, 2026; relevant discussion at 01:46–04:12. We reviewed the available captions. Explanations, teaching scenarios, diagrams and exercises here are DotaPractice's own. This is a fundamentals lesson for the 7.41f learning series, not a copied build or a promise about every matchup. Older footage may show different item values or map timings; check current in-game tooltips. Prepared October 7, 2026.
Discussion
Connect your ideas to heroes, items and specific patch changes.
Sign in to join the discussion
Loading comments…